
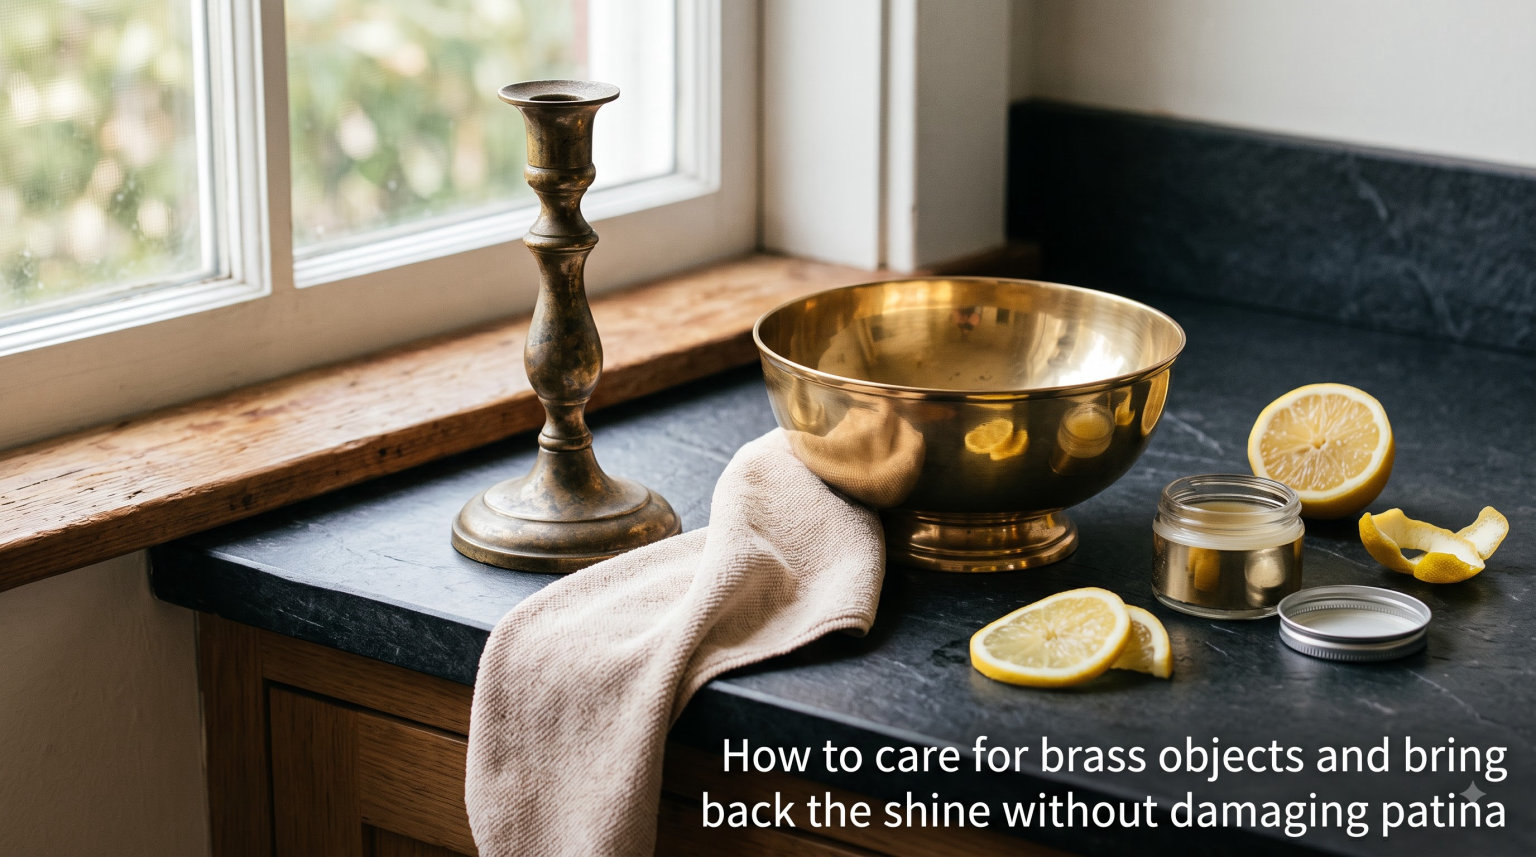
Brass is one of those materials that looks better with age, and learning how to care for brass objects and bring back the shine without damaging patina is the difference between a treasured heirloom and a ruined finish. The warm, golden tone of aged brass tells a story that no factory-fresh piece can replicate. But there is a fine line between gentle cleaning that refreshes the surface and aggressive scrubbing that strips away decades of character in seconds.
I have spent years working with vintage brass hardware, decorative objects, and antique fixtures, and I have seen the same mistakes repeat across forums like r/metalworking and r/restoration. People grab the strongest cleaner they can find, polish until the piece shines like a mirror, and then realize they erased exactly the aged beauty that made the item special in the first place.
This guide walks you through every step of brass care, from identifying whether your piece is solid brass or just plated, to choosing the right cleaning method, to protecting your finish for the long haul. You will learn exactly when to polish, when to preserve, and how to bring back a soft glow without touching the patina underneath. Whether you are restoring a family heirloom or refreshing cabinet hardware in a 2026 kitchen refresh, the methods here are designed to respect the material.
Table of Contents
What Is Brass Patina and Why It Matters?
Brass patina is a natural oxidation layer that forms on the surface of the copper-zinc alloy over months and years of exposure to air, oils, and the environment. This layer creates the warm, muted, slightly brownish or greenish tone that antique dealers and collectors prize. Far from being damage, patina is evidence of age, authenticity, and history, and it often adds real monetary value to antique pieces.
The patina actually protects the brass underneath from further rapid corrosion. Think of it as the metal’s own defense mechanism. When you strip that layer away, you expose fresh brass that will oxidize faster, often tarnishing unevenly and requiring more frequent cleaning. This is why antique dealers consistently recommend preserving patina whenever possible.
Across the metalworking and antiques communities, the consensus is clear. Most experienced restorers prefer a warm patina over a mirror shine because it looks richer, ages more gracefully, and tells the story of the object. One recurring theme on r/centuryhomes is that the character of old brass hardware is what makes a historic home feel authentic.
Patina vs. Tarnish: Know the Difference
Patina and tarnish are not the same thing, and confusing them leads to most cleaning mistakes. Patina is a stable, even oxidation layer that develops gradually and protects the metal. It has a consistent color and a smooth, integrated feel. Tarnish, by contrast, is a more active surface discoloration that appears patchy, dull, or dark and often signals that moisture or contaminants are actively reacting with the metal.
If your brass has a uniform, warm tone with no blotchy dark spots or greenish crust, you are looking at patina, and it should be preserved. If you see uneven black patches, rainbow-colored staining, or powdery green buildup, that is tarnish or active corrosion, and it may need targeted cleaning to stop the deterioration.
The goal of gentle brass care is to remove loose dirt and active tarnish while leaving the stable patina layer untouched. Once you can make this distinction visually, every cleaning decision becomes much simpler.
Step 1: Identify Your Brass Before You Touch It
Before cleaning anything, you need to determine whether your piece is solid brass or brass-plated steel or zinc. This single step determines which cleaning methods are safe, because plated pieces have only a thin layer of brass that can be scrubbed right off if you are too aggressive.
The magnet test is the fastest and most reliable starting point. Take an ordinary refrigerator magnet and hold it against the surface of your brass object. If the magnet sticks firmly, the piece is almost certainly brass-plated steel underneath. If the magnet does not stick at all, you are likely dealing with solid brass. A weak or partial attraction can indicate brass-plated zinc or a mixed-metal construction.
For items where the magnet test is inconclusive, try the weight test. Solid brass is dense and noticeably heavier than it looks for its size. A small solid brass knob will feel surprisingly heavy, while a plated piece feels lighter because the core is steel or zinc. You can also look for wear spots on edges or corners where a different colored metal might show through, which reveals a plated finish.
Why does this matter so much? Plated brass has a microscopically thin brass layer, sometimes just a few microns thick. A single session of vigorous polishing with an abrasive paste can wear through that layer permanently, exposing the steel or zinc core and ruining the piece. Reddit users on r/Antiques frequently share stories of plated hardware destroyed by cleaning methods that would be perfectly safe on solid brass.
If you discover your item is plated, limit yourself to the gentlest methods only: mild soap, water, and a soft microfiber cloth. Skip every abrasive remedy and save the deeper cleaning for solid brass pieces that can handle it.
How to Care for Brass Objects and Bring Back the Shine Without Damaging Patina
The safest way to care for brass objects and bring back the shine without damaging patina is a gentle, multi-step process using mild dish soap, warm water, and a soft microfiber cloth. This method removes surface dirt and oils while leaving the oxidation layer completely intact. Here is the exact process I use on every piece before reaching for anything stronger.
Step 1: Dust and assess the surface. Take a dry microfiber cloth and gently wipe away all loose dust and debris. This matters more than people realize, because rubbing dirt particles across brass under a wet cloth can cause micro-scratches. While you dust, look closely at the surface for cracks, loose joints, or areas where the finish looks fragile.
Step 2: Test on a hidden spot first. This is the single most repeated piece of advice across every restoration forum, and for good reason. Pick an inconspicuous area, like the underside of a decorative object or the back of a hinge, and test your cleaning solution there. Wait for it to dry and check the result before treating the whole piece. If the test spot looks different from the surrounding area, stop and reconsider your method.
Step 3: Mix a mild cleaning solution. Fill a bowl with warm water and add a few drops of mild, pH-neutral dish soap. The keyword here is mild. Avoid anything with citrus, antibacterial agents, or added moisturizers, because those additives can react with the metal. Swirl the water until it is lightly sudsy.
Step 4: Clean with gentle circular motions. Dip a soft microfiber cloth into the solution, wring it out until it is barely damp, and wipe the brass in light, circular motions. Work in small sections and let the cloth do the work rather than applying pressure. For intricate details or crevices, use a soft-bristled toothbrush dampened with the same solution, brushing gently along the grain of the detail.
Step 5: Rinse with clean water. Using a fresh cloth dampened with plain warm water, wipe away all soap residue. Soap left on the surface can leave a film that dulls the shine and may slowly react with the metal over time. Be thorough but gentle.
Step 6: Dry completely and immediately. This step is non-negotiable. Use a dry, lint-free cloth to buff the brass until no moisture remains. Any water left sitting on the surface, especially in crevices, can cause water spots or accelerate new tarnish formation. Take your time here.
Step 7: Add a protective finish. Once the piece is completely dry, apply a thin coat of mineral oil or a microcrystalline wax using a soft cloth. Buff lightly. This protective layer slows down future oxidation and gives the brass a soft, warm glow without altering the patina. It is the finishing touch that keeps your cleaning results lasting longer.
This seven-step process is safe for both solid and plated brass, and it addresses the majority of cleaning needs without any risk to the patina. For most decorative objects and hardware, this is the only process you will ever need.
Household Cleaning Solutions Ranked by Safety
Sometimes mild soap alone is not enough, especially on brass that has accumulated years of grime or active tarnish. That is when people reach for household remedies. But not all household cleaners are created equal when it comes to preserving patina. Here is how the most popular options stack up, ranked from safest to riskiest.
Mild dish soap and warm water (safest). This is the gold standard and the only method I recommend as a starting point for every piece. It is pH-neutral, non-abrasive, and cannot damage patina no matter how many times you use it. If this gets the job done, you never need to go further.
Baking soda paste (very safe). Mix baking soda with a few drops of water to form a thick paste. Baking soda is a very mild abrasive that lifts dirt and light tarnish without aggressive scrubbing. Apply it with a soft cloth in gentle circles, then rinse and dry thoroughly. This works well on solid brass with moderate tarnish.
Toothpaste (moderately safe, use with caution). Non-gel, white toothpaste is mildly abrasive and contains cleaning agents that can remove tarnish. It works, but it can also begin to smooth out patina if you scrub with any real pressure. Test it first, use it on solid brass only, and keep your touch light. Avoid whitening toothpastes, which are more abrasive.
Ketchup or tomato paste (use carefully). The acid in tomatoes, primarily acetic and citric acid, dissolves tarnish. Spread a thin layer over the brass, let it sit for 10 to 15 minutes, then rinse thoroughly and dry. The risk is that the acid can begin to etch the patina layer if left too long. Limit contact time and never use this on plated pieces.
Vinegar, salt, and flour paste (effective but risky). This is one of the most powerful household tarnish removers. The vinegar provides acid, the salt adds mild abrasion, and the flour turns it into a spreadable paste. It works fast, but it works almost too well. This combination can strip patina quickly and should only be used when you specifically want to remove tarnish and are willing to lose some aging. Use it on solid brass only, and watch the contact time closely.
Lemon juice and salt (avoid for patina preservation). Lemon juice is highly acidic, and the salt crystals are sharp-edged. Together they remove tarnish aggressively but also strip patina and can leave the surface looking uneven. I recommend avoiding this method unless you are intentionally trying to fully polish a piece back to raw brass.
When Household Remedies Cross the Line
Here is a simple rule that has saved many of my pieces. If a remedy contains a strong acid like vinegar or lemon juice, it will eventually affect the patina if given enough contact time. Set a timer, never leave acidic pastes on brass for more than 15 minutes, and always rinse immediately and thoroughly. The longer any acid sits, the deeper it penetrates the oxidation layer.
Also remember that harder does not mean cleaner. Applying more pressure with any of these remedies will not remove tarnish faster, it will just wear away the patina and possibly scratch the surface. Let the chemistry do the work. Give the remedy time to soften the tarnish, then wipe gently.
Methods That Damage Patina: What to Avoid
Some cleaning methods are guaranteed to damage brass patina, and knowing what to skip is just as important as knowing what to use. These are the approaches I see recommended carelessly online that routinely ruin otherwise beautiful pieces.
Steel wool on brass. Even the finest 0000 steel wool is too aggressive for preserving patina. It scratches the surface and removes oxidation layers rapidly. On r/metalworking, one user shared a cautionary tale of using steel wool and WD-40 on a brass piece and accidentally rubbing away stamped serial numbers that were part of the item’s history and value. Steel wool has its place in heavy restoration work, but never when you want to keep patina.
Strong commercial metal polishes used aggressively. Products like Brasso are designed to remove oxidation and restore a mirror shine, which means they remove patina by design. Used sparingly with a light touch, they can brighten brass, but most people apply far too much and polish far too long. If you value patina, these should be a last resort, not a go-to.
Acidic chemical cleaners and ammonia. Household cleaners formulated for other surfaces, like bathroom or kitchen descalers, often contain strong acids or ammonia. These react violently with brass and can cause pitting, discoloration, and rapid patina loss. Never use a general-purpose cleaner on brass.
Soaking overnight in acidic solutions. Soaking brass in vinegar or lemon juice for extended periods will strip patina completely and can begin to dissolve the metal itself. Short, controlled exposure is one thing, but overnight soaking is destructive.
Over-polishing in general. Even gentle methods, repeated too often, will wear down patina over time. Cleaning brass every few months is plenty for most items. Cleaning it weekly with anything beyond a dry cloth dusting is excessive and will eventually thin the aged finish.
When to Polish vs. When to Preserve?
Deciding whether to polish brass to a shine or preserve its aged patina depends on the type of item, its setting, and your personal aesthetic goals. There is no single right answer, but there are clear guidelines that make the decision straightforward.
Preserve the patina on antique pieces, collectible items, and anything with historical value. Patina is part of the authenticity and the worth. Antique dealers and appraisers consistently advise against polishing old brass because doing so can reduce an item’s value significantly. If you are unsure whether a piece is valuable, preserving the patina is always the safer choice.
Preserve patina on brass used in warm, character-driven interior styles. In Japandi, farmhouse, or traditional settings, aged brass hardware and decor look intentional and rich. A mirror-shine finish in these contexts can look out of place and overworked.
Polish when the piece is modern, heavily tarnished in an unattractive way, or used in a sleek contemporary setting. Some modern fixtures look best with a bright finish. If an item has uneven, blotchy tarnish rather than a smooth patina, polishing to reset the surface and then letting it age evenly can be the right call.
Consider a middle ground too. You can do a light cleaning with mild soap and then apply a wax finish. This refreshes the surface, removes grime, and adds a soft glow without fully removing the patina. For many pieces, this compromise gives you the best of both worlds.
Long-Term Protection: Keeping Brass Shiny and Patina Intact
The best way to care for brass is to reduce how often it needs cleaning in the first place. Long-term protection methods slow down oxidation, keep tarnish at bay, and let you maintain that warm glow with minimal intervention. Here is how to protect your brass finish over months and years.
Apply a protective wax coating. Microcrystalline wax, like Renaissance Wax, creates a clear, thin barrier between the brass and the air. It does not change the color or remove patina. Applied every 6 to 12 months, it dramatically slows oxidation and makes routine dusting easier. Buff it on with a soft cloth, let it haze, then buff it off to a soft sheen.
Use mineral oil for a quick refresh. Between wax applications, a light wipe with mineral oil on a soft cloth restores the warm glow and adds a temporary protective film. This takes 30 seconds and is perfect for hardware that gets frequent handling, like door knobs and cabinet pulls.
Establish a weekly wipe-down habit. The single most effective maintenance routine is also the simplest. Once a week, wipe your brass items with a dry microfiber cloth to remove dust and skin oils. Oils from hands are a major cause of uneven tarnish on hardware. This weekly wipe takes almost no time and keeps patina stable.
Lacquer for permanent protection (with a caveat). Clear lacquer creates a hard, permanent barrier that stops all oxidation, meaning the brass will look exactly as it does now for years. This is ideal for items you want to keep at a specific finish. The caveat is that lacquer eventually yellows, cracks, or peels, and removing it later requires solvents. Lacquer is best for fixtures in hard-to-reach places or pieces you want to set and forget.
Control the environment. Humidity and air pollutants accelerate brass tarnish. If you store brass objects in a damp basement or garage, expect faster oxidation. Keep valuable pieces in climate-stable, dry areas. For display objects, avoid placing them near cooking areas where grease and moisture are present.
Handle with clean hands. Skin oils and acids leave fingerprints that etch into brass over time. When handling unlaquered brass objects frequently, especially decorative pieces, wear cotton gloves or wash and dry your hands first. This small habit prevents fingerprint tarnish that can be difficult to remove later.
How to Fix Over-Cleaning Mistakes?
If you have already over-polished a piece and stripped the patina, do not panic. The brass is not destroyed, it just looks different than you intended. The good news is that patina is a natural process, and given time, the brass will re-oxidize and develop a new aged layer on its own.
Speed up the process by leaving the piece unlacquered and exposed to air. Handling it naturally, placing it in a spot with normal air circulation, and avoiding any further cleaning will let oxidation rebuild over weeks to months. The new patina may look slightly different from the original, but it will have the same warm, aged character.
If you removed patina unevenly, creating blotchy patches, the fix is to even out the surface. Clean the entire piece uniformly with mild soap, then apply a light wax coat. As the brass re-oxidizes, the wax helps the new patina form more evenly. Patience is key here, as natural patina cannot be rushed without chemical treatments that create an artificial and less attractive result.
Frequently Asked Questions About Brass Care and Patina
How do you clean brass without ruining the patina?
To clean brass without removing patina, use warm water with a few drops of mild dish soap and a soft microfiber cloth. Wipe gently in circular motions, rinse with clean water, and dry immediately with a lint-free cloth. Avoid abrasive tools, acidic cleaners, and strong commercial polishes, as these strip the oxidation layer that creates the aged finish. Test any method on a hidden spot first.
How to make brass look shiny again?
To bring back shine, start with mild soap and water. If that is not enough, try a baking soda paste applied gently with a soft cloth, or use a commercial brass polish sparingly with a light touch. Always rinse, dry thoroughly, and finish with a thin coat of mineral oil or wax to protect the refreshed surface and slow new tarnish formation.
How do you keep brass shiny permanently?
Permanent shine requires a protective barrier. Apply a clear lacquer coating to stop all oxidation, or reapply microcrystalline wax every 6 to 12 months for a more reversible option. Combine this with a weekly dry-cloth wipe-down to remove skin oils, and keep brass away from humid environments. Without some form of coating, unlacquered brass will always oxidize over time.
Can you soak brass in something to bring back shine?
You can soak brass briefly in warm soapy water to loosen grime, but avoid soaking in acidic solutions like vinegar or lemon juice for more than 10 to 15 minutes. Extended soaking in acid strips patina and can pit the metal surface. For solid brass with heavy tarnish, a short ketchup or tomato paste application works, but rinse immediately and dry completely afterward.
How can I tell if my brass is solid or plated?
Use a magnet. If a magnet sticks firmly, the piece is brass-plated steel. If it does not stick at all, the item is likely solid brass. You can also check the weight, since solid brass feels noticeably heavy for its size, and look for wear spots on edges where a different colored metal shows through a plated layer.
Will Brasso remove patina from brass?
Yes. Brasso and similar metal polishes are formulated to remove oxidation, which includes patina. Used with a heavy hand, they will strip the aged finish and leave the brass looking like new. If you want to preserve patina, skip commercial polishes entirely and stick with mild soap, water, and a soft cloth.
Conclusion
Caring for brass without damaging patina comes down to three core principles: identify your brass type first, use the gentlest effective method, and protect the finish once it is clean. When you know how to care for brass objects and bring back the shine without damaging patina, you can maintain beautiful, warm, character-rich pieces for decades.
Start every cleaning with the magnet test, then use mild soap, warm water, and a soft cloth as your default approach. Reach for stronger remedies only when necessary, and always test on a hidden spot first. Finish with a wax or oil protective layer, and maintain your pieces with a simple weekly wipe-down.
The brass you own has its own history written into its surface. Treat it gently, and that warm aged glow will only deepen and improve with every passing year.