
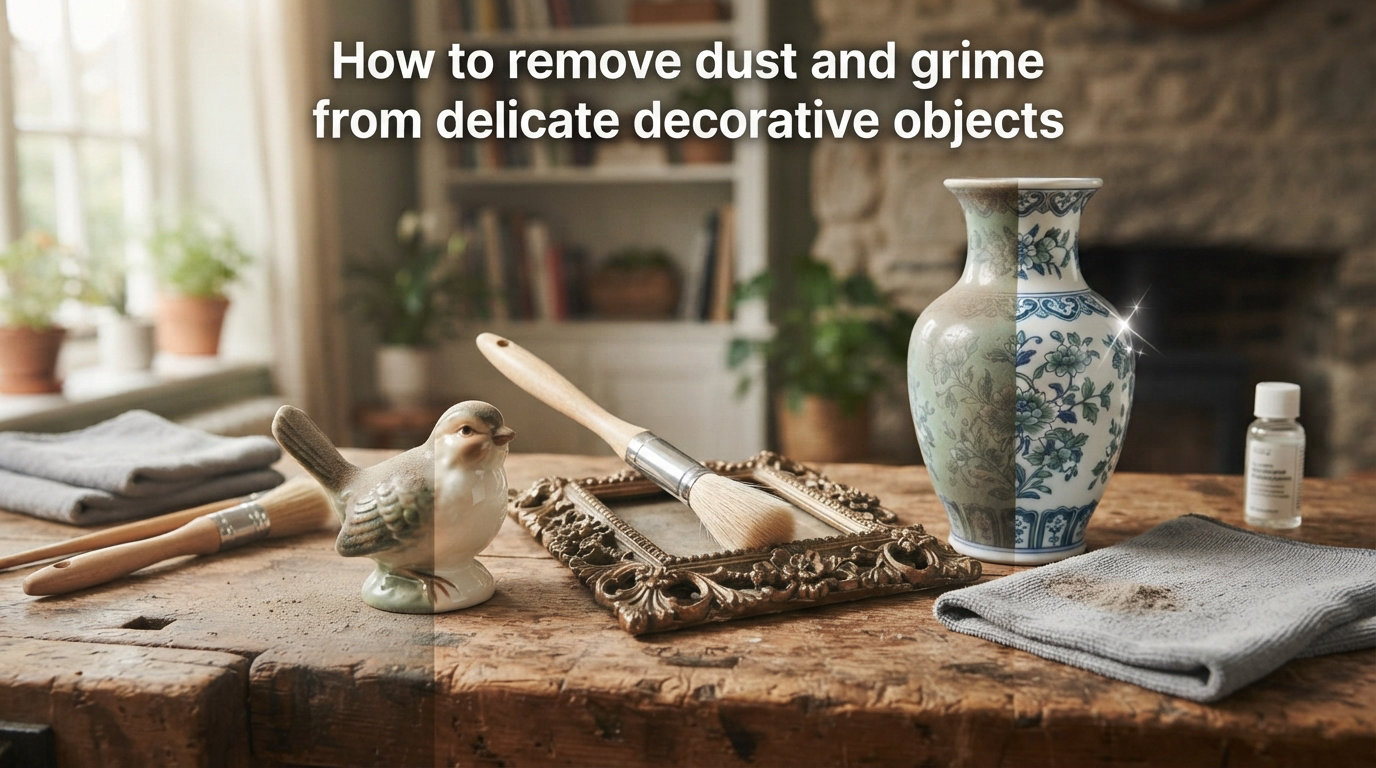
Those fragile ceramic figurines, hand-painted ornaments, and crystal pieces on your shelves collect dust just like everything else in your home. But you cannot clean them the way you would wipe down a kitchen counter. Learning how to remove dust and grime from delicate decorative objects means protecting pieces that often cannot be replaced.
The wrong cleaner, too much water, or a rough cloth can scratch finishes, fade painted details, or leave permanent marks. I have seen beautiful porcelain figurines ruined by a single swipe with an abrasive sponge.
This guide walks you through safe, tested methods for every common decorative material. You will learn which tools to grab, which to avoid, and how to tackle everything from light dust to years of caked-on grime without lowering the value of your collectibles.
Whether you inherited a shelf of antiques or just want your display cabinet looking sharp for 2026, these techniques apply. We start with the gentlest dry methods and move into material-specific wet cleaning only when dust has turned into stubborn buildup.
The most important rule before we begin: always start with the gentlest method and work your way up. Dry dusting handles most routine maintenance. Wet cleaning should be a last resort, not your first move.
Table of Contents
Why Delicate Objects Need Special Care?
Delicate decorative objects have fragile finishes, porous surfaces, and hand-painted details that standard cleaning products will damage. A ceramic glaze can lose its shine. A wooden carving can absorb water and crack. A metal surface can tarnish permanently from the wrong chemical.
Standard household cleaners contain abrasives, acids, and solvents designed for durable surfaces like countertops and tile. Those same ingredients eat through delicate finishes without warning.
Even plain water causes problems on certain materials. Unsealed wood, porous ceramics, and items with water-soluble paint will soak up moisture and stain, warp, or crack.
The good news is that most decorative items need only regular dry dusting to stay in great shape. Wet cleaning becomes necessary only when dust combines with humidity and skin oils to form grime that a brush alone cannot lift.
Understanding Your Materials Before You Clean
Before touching a single cleaner, figure out what your object is made of. The material determines everything: which tools are safe, whether water is allowed, and how much pressure you can apply.
Porous vs Non-Porous Materials
Porous materials absorb liquids and trap dust particles deep in their surface. These include unglazed ceramics, raw wood, plaster, and some natural stones. Porous items need dry cleaning methods almost exclusively.
Non-porous materials resist water and can handle gentle damp cleaning. Glazed ceramics, glass, crystal, and sealed metals fall into this category. Even so, you should always test a hidden area first before cleaning the visible surface.
Common Decorative Materials at a Glance
Ceramic and porcelain make up most decorative figurines and vases. Glazed pieces can handle light damp cleaning, while unglazed bisque porcelain needs dry methods only.
Glass and crystal are non-porous and relatively forgiving, but they scratch easily and show water spots. Always dry them immediately after any wet cleaning.
Wooden decor ranges from sealed and lacquered pieces to raw, unfinished carvings. Sealed wood tolerates a barely damp cloth, while raw wood absorbs moisture and stains.
Metal decorations include brass, bronze, silver, and plated finishes. Each metal reacts differently to cleaners, and plating can wear off with aggressive rubbing.
Resin and plastic decor are durable but can cloud or scratch with abrasive tools. Fabric and woven items trap dust deep in their fibers and need specialized vacuuming or brushing techniques.
If your object mixes materials, treat the whole piece according to its most sensitive component. A figurine with a wooden base and porcelain body should be cleaned as if both were raw wood and unglazed porcelain.
Dry Dusting Techniques: How to Remove Dust and Grime from Delicate Decorative Objects
Dry dusting should always be your first step. It removes loose dust without introducing moisture, chemicals, or abrasion. For most decorative items, regular dry dusting is all the maintenance they ever need.
Choose the Right Brush
A soft brush is the single most useful tool for delicate objects. The key is finding the right type for your specific item.
Makeup brushes work beautifully for small figurines and intricate details. Their fluffy, natural bristles reach into crevices without scratching. A clean, unused blush brush costs almost nothing and handles most light dusting jobs.
Artist paint brushes come in various sizes and stiffness levels. Use size 0 to 4 round brushes for fine details and larger flat brushes for broader surfaces. Always choose soft natural hair or synthetic equivalents over stiff hog bristle.
Shaving brushes have dense, fluffy bristles that excel at lifting dust from textured surfaces. They are ideal for carved wood and ornate picture frames where a flat brush cannot reach.
Whatever brush you choose, keep it dedicated to dusting only. Never use a brush that has touched makeup, paint, or shaving cream on your decorative items. Residue transfers easily and causes more harm than the dust you removed.
Use Microfiber and Lint-Free Cloths
For larger decorative objects, a clean microfiber cloth captures dust effectively without scratching. The ultrafine fibers grab and hold particles rather than pushing them around the surface.
Gently drape the cloth over the surface and lift straight off. Avoid rubbing back and forth, which can grind dust particles into delicate finishes and create micro-scratches.
Lint-free cotton cloths work well as an alternative. Avoid paper towels and facial tissues, which leave fibers behind and can be surprisingly abrasive on polished surfaces.
Reach Crevices with Compressed Air
Intricate carvings, deep grooves, and tight corners trap dust that brushes cannot reach. A can of compressed air solves this problem by blowing dust out of impossible spaces.
Hold the can upright and use short bursts from at least six inches away. Long continuous bursts can release propellant moisture from the can onto your object.
Never use compressed air on loose or flaking paint, gilded surfaces, or items with small detachable parts. The pressure can cause damage or send tiny pieces flying across the room.
For extremely fragile antiques, skip compressed air entirely and rely on patient, gentle brushing instead. The risk of dislodging fragile elements is too high.
Work From Top to Bottom
Always start at the highest point of the object and work downward. Dust falls as you clean, and working top to bottom ensures you do not re-dust areas you already finished.
Move the object to eye level on a padded surface if possible. Cleaning at table height gives you better control and reduces the risk of dropping the item.
One pass with a soft brush is usually enough for regular maintenance. If dust persists, resist the urge to scrub harder. Instead, try a different brush or move on to damp cleaning only if the buildup is visible.
Material-Specific Cleaning Guide for Stubborn Grime
When dry dusting is not enough, you need gentle wet cleaning methods tailored to each material. The golden rule: use the least amount of moisture possible and always dry the surface immediately after cleaning.
Cleaning Ceramic and Porcelain Decor
Glazed ceramics and porcelain figurines can handle careful damp cleaning. Mix one drop of mild dish soap in a bowl of warm water.
Dip a soft cloth into the solution and wring it out until it is barely damp. Gently wipe the surface, then immediately pat dry with a lint-free cloth.
Unglazed bisque porcelain should never get wet. The porous surface will absorb moisture, trap dirt deeper, and develop permanent water stains. Stick to dry brushing only for these pieces.
For figurines with intricate details, use a soft brush dipped in the soapy solution. Shake off excess moisture until the brush is nearly dry, then sweep dust from crevices gently.
Cleaning Glass and Crystal Pieces
Glass and crystal are non-porous and tolerate damp cleaning well. Use the same mild soap solution applied with a soft cloth.
Rinse with a cloth dampened in clean water, then dry immediately with a lint-free cloth. Crystal is especially prone to water spots, so never let it air dry.
Avoid cleaning crystal in direct sunlight or near heat sources. Sudden temperature changes can cause thermal shock and cracking in delicate crystal pieces.
A note on ultrasonic cleaners: they are popular for jewelry but risky for decorative objects. The vibrations can loosen glued joints, crack stress points in crystal, and damage painted finishes. I recommend avoiding them unless a professional specifically advises their use for your item.
Cleaning Wooden Decorative Items
Sealed and lacquered wood tolerates a barely damp cloth for grime removal. Wipe gently, then dry immediately with a soft cloth.
Raw, unfinished wood should never be wet-cleaned. Moisture penetrates the surface, raises the grain, and causes warping or dark staining. Use dry brushing only.
For polished wood with a wax or oil finish, avoid water entirely. Instead, buff gently with a dry microfiber cloth to remove dust and restore the natural shine.
Cleaning Metal Decor Without Tarnishing
Metal care depends entirely on the type of metal and its finish. Never use the same approach for brass, silver, and plated items without checking first.
For lacquered metals, dry dusting is all you need. The lacquer coating protects the metal underneath, and wet cleaning can break it down over time.
Unlacquered brass and bronze can be wiped with a barely damp cloth, then dried immediately. Avoid commercial metal polishes unless you specifically want to remove patina, which can actually reduce the value of antique pieces.
Silver items benefit from gentle dusting and proper storage rather than frequent polishing. Over-polishing wears down silver plating and removes the desirable patina that collectors value on antique silver.
Cleaning Resin and Fabric Decor
Resin and plastic decorative items are durable and water-resistant. A damp cloth with mild soap handles most grime. Avoid abrasive sponges that will scratch the smooth surface and leave permanent marks.
Fabric and woven decor trap dust deep in their fibers. Use a soft brush to loosen dust, then vacuum gently using a brush attachment on the lowest suction setting.
For stubborn stains on fabric decor, consult a professional cleaner. DIY stain removal on decorative textiles often causes more damage than the original stain itself.
Common Cleaning Mistakes That Ruin Delicate Objects
Even well-intentioned cleaning can destroy delicate items. Here are the most common mistakes people make, drawn from collector forums and conservator warnings.
Using Harsh Chemical Cleaners
Vinegar, baking soda, rubbing alcohol, and commercial degreasers have no place near delicate decor. These chemicals strip finishes, etch surfaces, and dissolve paint.
Vinegar is acidic enough to damage metal plating and dull ceramic glazes over time. Baking soda is mildly abrasive and will leave micro-scratches on polished surfaces. Alcohol-based cleaners dissolve painted and gilded details on contact.
Scrubbing With Abrasive Tools
Sponges with scrubbing backs, steel wool, and rough brushes will scratch every delicate material. Even soft-bristled toothbrushes can be too stiff for painted or gilded surfaces.
If you need to work into a crevice, use the softest brush you can find and apply almost no pressure. Let the tool do the work, not your muscles.
Soaking or Over-Wetting
Submerging a delicate object in water is almost always a mistake. Water seeps into joints, under paint layers, and into porous materials where it causes swelling, cracking, and staining.
Keep all wet cleaning to a barely damp cloth. If water is dripping or pooling on the surface, you are using far too much.
Over-Cleaning and Over-Polishing
Cleaning too often wears down finishes faster than dust ever could. Polish removes a microscopic layer of material each time, and frequent handling increases the risk of drops and chips.
Dust lightly and frequently. Reserve wet cleaning and polishing for when they are genuinely needed, not as a weekly routine.
Preventive Care and Smart Storage
The best way to deal with dust is to prevent it from settling in the first place. Smart display and storage choices dramatically reduce how often you need to clean your delicate items.
Display in Enclosed Cabinets
Glass-fronted display cabinets are the single most effective dust prevention tool. Items behind glass stay clean far longer than those on open shelves.
If open shelving is your only option, group items together to reduce the total surface area that catches dust. Fewer individual pieces spread out means less cleaning overall.
Control Humidity and Temperature
Fluctuating humidity and temperature cause materials to expand and contract, leading to cracks and finish damage. Keep decorative items in climate-controlled rooms away from vents and windows.
High humidity also makes dust stickier, turning light dust into stubborn grime faster. A dehumidifier in display rooms helps keep dust dry and easy to brush away.
Handle With Clean, Dry Hands
The oils on your skin transfer to decorative surfaces and attract dust. Always wash and thoroughly dry your hands before handling delicate items.
Better yet, wear clean white cotton gloves when handling valuable pieces. Cotton gloves prevent oil transfer and provide a better grip on slippery ceramic and glass surfaces.
Store Seasonal Decor Properly
Wrap each seasonal decoration individually in acid-free tissue paper. Never use newspaper, which leaves ink residue and is acidic enough to damage finishes over time.
Store wrapped items in rigid containers in a climate-controlled area. Avoid attics and basements where temperature and humidity swing wildly throughout the year.
How Often Should You Dust?
Dust open-shelf items every one to two weeks to prevent buildup. Display cabinet contents need dusting only every two to three months.
Reserve wet cleaning for once or twice a year, or when you notice visible grime that brushing will not remove. Less is genuinely more when it comes to delicate decor.
For valuable antiques, consider consulting a professional conservator before attempting any wet cleaning. What seems like harmless grime removal can sometimes strip away original finishes that define the piece’s character and worth.
When to Leave It Alone
Sometimes the best cleaning decision is to do nothing at all. Valuable antiques with original patina, items with unstable or flaking paint, and objects you cannot positively identify should be left to professionals.
If you inherited items and plan to sell them, cleaning can sometimes lower value by removing the original surface patina that collectors prize. When in doubt, get an appraisal before cleaning.
A conservator can assess whether cleaning adds or subtracts value and recommend safe methods. This small investment protects pieces that may be worth far more than you realize.
Frequently Asked Questions
How to get dust off delicate items?
The safest way to remove dust from delicate items is to use a soft, clean brush. A fluffy makeup brush, a soft artist paint brush, or a shaving brush works perfectly. Gently sweep in one direction, working from top to bottom. Avoid cloths and sprays on intricate pieces, as they can catch on details and cause damage.
What is grandma’s simple trick to eliminate dust?
The classic household trick is using a clean, dry paint brush or makeup brush to whisk dust off delicate surfaces. Another traditional method is lightly dampening a microfiber cloth and wiping shelves clean, which grabs dust instead of scattering it. Both methods rely on gentle, soft tools rather than chemicals.
How to remove dust from knick knacks?
Use a soft brush to loosen dust from small knick knacks, then follow with a barely damp microfiber cloth for smooth surfaces. For pieces with lots of detail, compressed air in short bursts clears dust from tight crevices. Always handle small items over a padded surface to prevent breakage if dropped.
How to clean dust off of valuables and delicate items?
Start with dry dusting using a soft brush or microfiber cloth. For valuables, never use water, chemicals, or commercial cleaners without testing on a hidden area first. If wet cleaning is necessary, use one drop of mild dish soap in warm water on a barely damp cloth, then dry immediately. Consult a professional conservator for high-value antiques.
How to clean delicate figurines?
Use a soft makeup brush to gently sweep dust off figurines, working from top to bottom. For crevices and fine details, use a small round paint brush. If grime has built up, lightly dampen the brush in a mild soap solution, shake nearly dry, and sweep the surface. Pat dry immediately with a lint-free cloth. Never submerge figurines in water.
Wrapping Up
Knowing how to remove dust and grime from delicate decorative objects comes down to choosing the right tools, matching your method to the material, and always starting gentle. A simple soft brush handles most cleaning jobs, while careful damp wiping tackles stubborn grime on compatible materials.
Remember that less cleaning is often better for your collectibles. Dust frequently with dry methods, wet clean rarely, and store items behind glass whenever possible. Your decorative pieces will stay beautiful for years without the risk that comes with aggressive cleaning.