
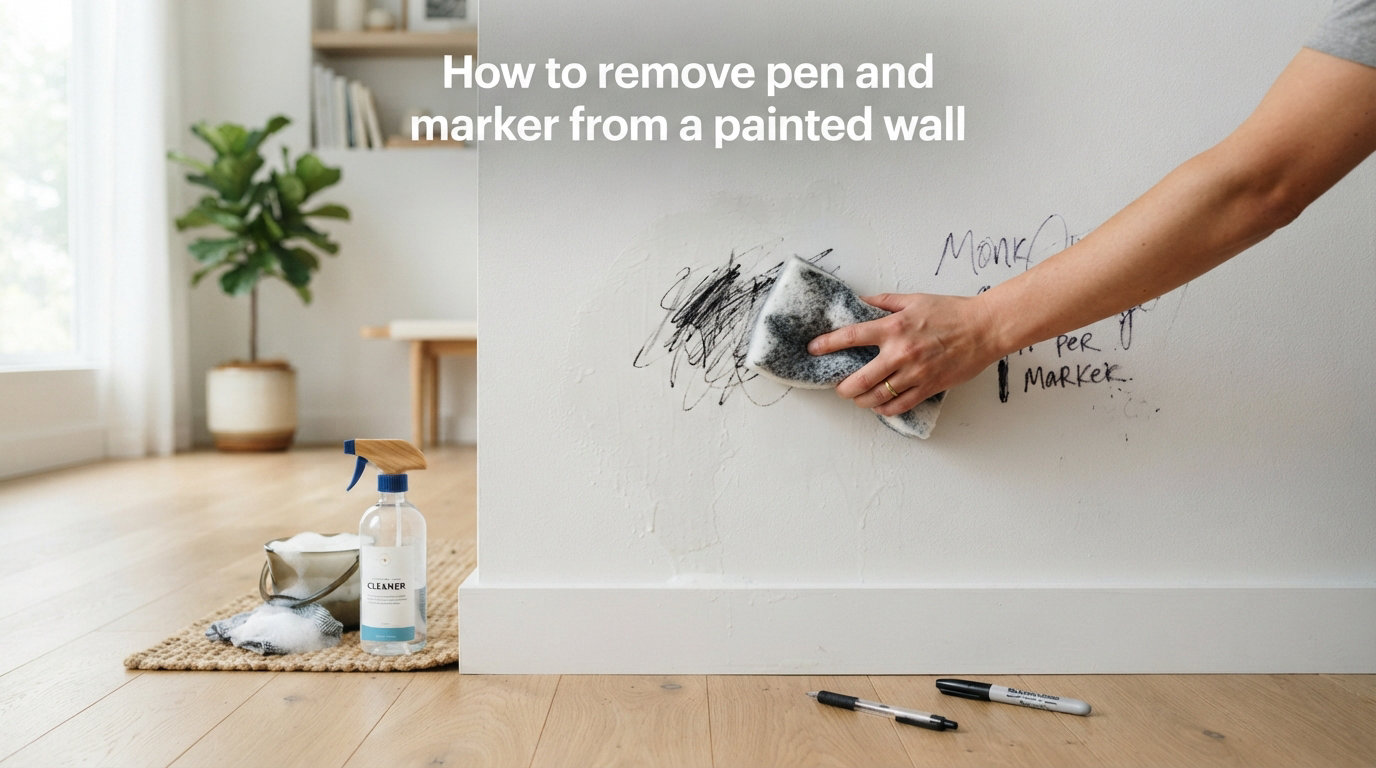
I remember the first time my nephew handed me his “masterpiece” drawn in black Sharpie right on my freshly painted living room wall. My heart sank, but I had a feeling I could fix it without repainting. After testing dozens of methods over the years, I figured out exactly how to remove pen and marker from a painted wall without damaging the paint underneath.
This guide walks you through the five methods that actually work, plus a bonus eco-friendly option. I have included step-by-step instructions, what to avoid, and how to handle both fresh and old stains. Whether you are a parent, teacher, or renter, you will find a safe solution here.
Table of Contents
Safety First: What to Do Before You Start
Before reaching for any cleaner, take five minutes to prep. This step saves you from accidentally stripping the paint and creating a bigger mess.
Identify your paint type. Latex (water-based) and oil-based paints respond differently to solvents. Most interior walls are latex, which is more forgiving.
Test on a hidden spot first. Pick a spot behind furniture or near a corner. Dab your chosen solution there and wait 60 seconds before checking for damage.
Gather your supplies. Soft microfiber cloths, cotton swabs, water, and gloves are your best friends during this job.
Work in small sections. Tackle one mark at a time so you do not spread the ink or soak the wall.
Always wear gloves when using rubbing alcohol or WD-40. Good ventilation helps too, especially in small rooms.
Method 1: Baking Soda Paste (Best for Fresh Stains)
Baking soda paste is my first choice for fresh pen and marker stains. It is gentle enough for most paint finishes but strong enough to break down ink pigments. I have removed entire crayon doodles this way without leaving a trace.
You will need: 2 tablespoons baking soda, 1 teaspoon water, a soft cloth, and a small bowl.
Step-by-step instructions:
Mix the baking soda and water in a small bowl until you get a thick paste (about the consistency of toothpaste).
Apply the paste directly onto the marker stain using your finger or a soft cloth.
Gently rub in small circular motions for 30 to 60 seconds. Do not press hard.
Wipe away the paste with a damp microfiber cloth.
Repeat once or twice if needed, then dry the area with a clean towel.
This method works on fresh ballpoint pen marks, washable markers, and even light Sharpie stains. For older stains, leave the paste on for 5 minutes before scrubbing.
Method 2: Rubbing Alcohol (For Stubborn Marks)
When baking soda does not cut it, rubbing alcohol (isopropyl alcohol, 70% concentration) is the next step up. It dissolves the solvents in permanent marker ink. I keep a bottle in my cleaning caddy for exactly this kind of emergency.
You will need: Rubbing alcohol, cotton balls or swabs, and a clean cloth.
Step-by-step instructions:
Dampen a cotton ball with rubbing alcohol. It should be moist, not dripping.
Blot the marker stain gently. Avoid rubbing aggressively, which can push ink deeper into the paint.
Let the alcohol sit for 10 to 15 seconds to break down the ink.
Wipe the area with a clean, damp cloth to remove residue.
Repeat up to three times if needed. Stop if you see paint coming off on your cloth.
Important warning: a few Reddit users mentioned that isopropyl alcohol can strip paint if used too aggressively or too often. Always test first and use the minimum amount needed.
Method 3: Magic Eraser (For Crayon and Light Marker)
Magic Erasers (melamine foam sponges) are a popular solution because they require almost no prep. The foam acts like ultra-fine sandpaper, lifting stains through gentle abrasion. I reach for this method when crayons or washable markers are involved.
You will need: One Magic Eraser sponge and water.
Step-by-step instructions:
Lightly dampen the Magic Eraser with water and squeeze out the excess.
Gently rub the stained area using light pressure. The sponge does most of the work.
Wipe the wall with a dry cloth to remove any foam residue.
Repeat as needed for stubborn spots.
Be cautious on satin, eggshell, or flat finishes. The abrasive foam can dull the sheen if you scrub too hard. Stick to glossy or semi-gloss walls when possible.
Method 4: Toothpaste (Budget-Friendly Option)
Non-gel white toothpaste is a classic home remedy. The mild abrasives in toothpaste lift ink without the harsh chemicals found in commercial cleaners. I tested this on a Sharpie scribble last year and was surprised by the results.
You will need: Plain white toothpaste (not gel), a soft cloth, and water.
Step-by-step instructions:
Apply a small amount of toothpaste directly onto the marker stain.
Rub gently with a soft cloth using circular motions for about 60 seconds.
Wipe away the toothpaste with a damp cloth.
Dry the area and check your progress.
This method works best on glossy or semi-gloss paint. Skip it on flat or matte finishes since the abrasives can leave visible marks.
Method 5: WD-40 (For Exterior Walls and Tough Stains)
WD-40 is a heavy-duty option for particularly stubborn permanent marker stains on exterior walls, brick, or concrete. It is not my first pick for interior drywall because the oily residue is tricky to clean up.
You will need: WD-40, a soft cloth, dish soap, and water.
Step-by-step instructions:
Spray a small amount of WD-40 directly onto the stain.
Let it sit for 30 seconds to penetrate the ink.
Wipe the area with a clean cloth. The marker should lift away with the oil.
Clean the wall with dish soap and warm water to remove any leftover WD-40 film.
Reserve this method for exterior surfaces or areas you plan to repaint. The oil can stain untreated drywall and is hard to fully remove from interior paint.
Bonus Method: White Vinegar Solution
If you want an eco-friendly option, white vinegar is a surprisingly effective answer to the question “does vinegar remove Sharpie?” Yes, it can, especially when mixed with a little dish soap.
You will need: 1 part white vinegar, 1 part warm water, 1 teaspoon dish soap, and a soft cloth.
Step-by-step instructions:
Combine vinegar, water, and dish soap in a spray bottle.
Spray the solution onto the marker stain. Do not soak the wall.
Let it sit for 2 to 3 minutes.
Scrub gently with a soft cloth in circular motions.
Wipe clean with a damp cloth and dry the area.
This method shines on washable markers and ballpoint pen ink. For true Sharpie, you may need to repeat the process or escalate to rubbing alcohol.
Fresh Stains vs. Old Stains: Different Approaches
The age of the stain changes everything. Fresh stains (under 24 hours old) respond well to mild solutions like baking soda or vinegar. Old stains (weeks or months) usually need a stronger solvent like rubbing alcohol or WD-40.
For fresh stains: Start with the gentlest method first. Soapy water, baking soda paste, or a Magic Eraser usually works within one or two attempts.
For old stains: Skip the mild solutions and go straight to rubbing alcohol or WD-40. Old ink has bonded with the paint, so you need a stronger solvent to break that bond.
One Reddit user shared that she had a Sharpie stain on her wall for two years and finally got it out with a baking soda and hydrogen peroxide paste. The peroxide adds extra cleaning power for set-in stains.
Surface-Specific Tips: Interior, Exterior, Drywall, and More
Not all walls are the same. The surface underneath the paint affects which method works best.
Painted interior walls (latex): Stick to baking soda paste, rubbing alcohol, or Magic Eraser. These are gentle enough for most latex finishes.
Painted exterior walls: Exterior paint is tougher and can handle WD-40 or stronger solvents. Pressure washing also works on exterior brick or stucco.
Drywall (unpainted): Be extra careful. Drywall absorbs ink fast, so the stain may have soaked deep. You will likely need to prime and repaint the affected area.
Brick or concrete: Use a pressure washer or a stiff brush with soapy water. These porous surfaces can handle stronger scrubbing.
Wallpaper or wallcovering: Test any cleaner on a hidden seam first. Many solvents will dissolve the adhesive or stain the pattern.
What NOT to Do: Common Mistakes That Damage Paint
Some popular “hacks” cause more harm than good. Avoid these mistakes when removing pen and marker from a painted wall.
Do not use nail polish remover on large areas. Acetone removes paint along with the ink.
Do not scrub with steel wool or rough sponges. These scratch the paint surface and leave permanent marks.
Do not mix cleaning chemicals. Combining bleach and ammonia (or other cleaners) creates toxic fumes.
Do not soak the wall. Excess water seeps behind paint and causes bubbling or peeling.
Do not skip the test patch. Always test first to avoid ruining your paint job.
When in doubt, call a professional painter or cleaning service. Repainting a small section costs less than fixing widespread paint damage.
Prevention Tips: Keep Marker Off Your Walls
Stopping the problem before it starts saves you hours of cleanup. Here are a few simple prevention strategies that work.
Set up a designated art space. A small table with butcher paper gives kids a clear spot to draw without wandering to the walls.
Use washable markers only. Crayola Ultra-Clean Washable Markers come off almost any surface with just water.
Apply a clear wall coating. Polyurethane or clear acrylic coatings create a barrier that wipes clean easily.
Keep markers out of reach. Store pens and markers in a locked drawer or high shelf when kids are around.
Trust me, a 10-minute prevention setup beats an afternoon of scrubbing walls any day.
FAQs
How do you get pen ink off painted walls?
Start with the gentlest method: baking soda paste mixed from 2 tablespoons of baking soda and 1 teaspoon of water. Apply it to the stain, rub gently in circular motions for 30 to 60 seconds, then wipe clean. For stubborn stains, escalate to rubbing alcohol or a Magic Eraser. Always test on a hidden spot first.
Does vinegar remove Sharpie?
Yes, white vinegar can remove Sharpie, especially on washable surfaces or fresh stains. Mix 1 part white vinegar with 1 part warm water and 1 teaspoon of dish soap. Spray it on the stain, wait 2 to 3 minutes, then scrub gently with a soft cloth. Old or set-in Sharpie stains may need rubbing alcohol instead.
Will Dawn dish soap remove Sharpie?
Dawn dish soap alone is not strong enough to remove permanent Sharpie stains. It works well as a first step to lift fresh ballpoint pen ink or washable marker, but permanent marker needs a stronger solvent like rubbing alcohol, baking soda paste, or vinegar. Use Dawn as a cleanup tool after applying stronger treatments.
Will dry erase markers come off painted walls?
Yes, dry erase markers are designed to wipe off non-porous surfaces. On glossy or semi-gloss painted walls, a dry cloth usually removes them completely. On flat or matte paint, the marker may stain slightly. Use a Magic Eraser or rubbing alcohol for any leftover shadow. Avoid letting dry erase markers sit for more than a day since they can become permanent.
How do you remove old permanent marker stains from walls?
Old permanent marker stains need a stronger solvent. Start with rubbing alcohol applied to a cotton ball, let it sit for 15 seconds, then wipe. If that does not work, try a baking soda and hydrogen peroxide paste left on for 5 to 10 minutes. As a last resort, WD-40 works on exterior walls. For deeply set stains, spot-priming and repainting may be the only solution.
Final Thoughts on Removing Pen and Marker from Painted Walls
Now you know exactly how to remove pen and marker from a painted wall without damaging the paint. Start with the gentlest method (baking soda paste), work your way up to stronger solvents if needed, and always test first. Fresh stains are much easier to handle than old ones, so act fast when you spot them.
If your wall still shows ghosting after several attempts, do not stress. A small can of matching paint and a brush can cover almost any leftover shadow. Most of the time, though, one of the five methods above will get your walls looking clean again.