
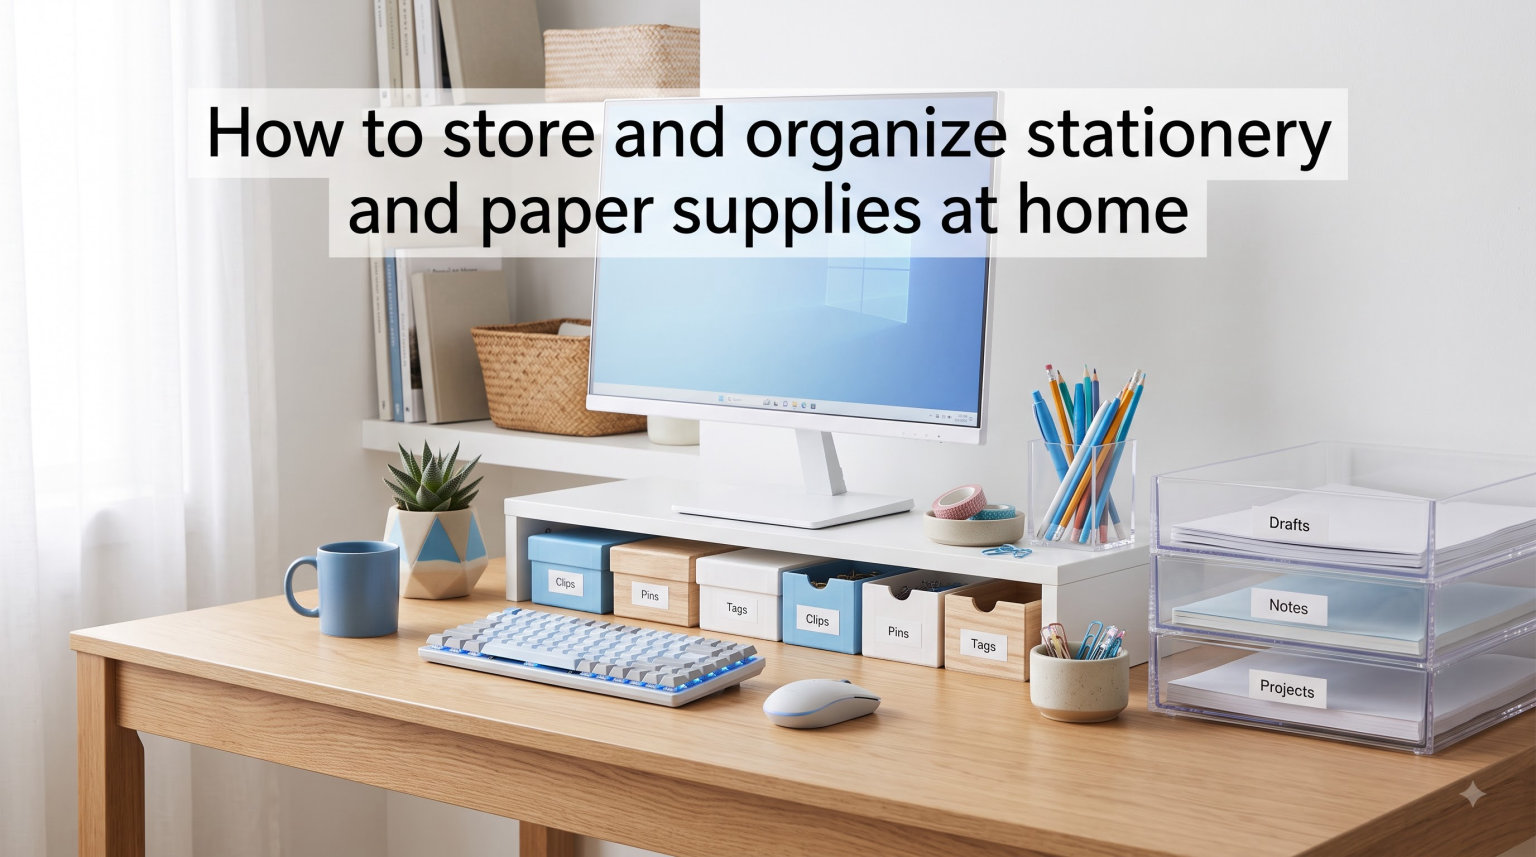
If you have ever opened a drawer looking for a single pen and ended up surrounded by dried-out markers, crumpled sticky notes, and paper you forgot you owned, you are in the right place. Learning how to store and organize stationery and paper supplies at home changed the way I work, journal, and create. I went from spending ten minutes hunting for supplies to grabbing exactly what I need in seconds.
Our team has tested, refined, and rebuilt stationery systems in small apartments, shared home offices, and dedicated craft rooms over the past several years. The methods in this guide come from real trial and error, not Pinterest-perfect setups that fall apart in a week.
Here is what you will learn: a five-step framework to declutter, categorize, store, and maintain every type of stationery and paper supply in your home. Whether you have a sprawling craft room or a single desk in a studio apartment, these strategies scale to fit your space and budget.
Good organization does more than make your desk look nice. It saves money because you stop buying duplicates of items you already own. It reduces waste from supplies that dry out or get damaged in storage. Most importantly, it removes the mental friction that keeps you from sitting down and actually using your supplies.
Table of Contents
How to Store and Organize Stationery and Paper Supplies at Home: The Process
The entire process comes down to five steps that work in order. You declutter first, categorize what remains, choose storage that fits your space, set up paper-specific systems, and then maintain everything with a few simple habits. Skip any step and the system tends to collapse within a month or two.
I learned this the hard way. My first attempt at organizing involved buying a beautiful set of matching containers before I had sorted through anything. Three weeks later, the containers held a random mix of supplies and I still could not find a working highlighter. Decluttering first is the step that makes everything else possible.
Step 1: Declutter Before You Organize
Decluttering comes before organizing, always. Organizing clutter just gives you neatly arranged junk, and the system will fail because you are trying to store items you do not actually use.
Gather Everything in One Place
Start by collecting every stationery and paper item from around your home. Check desk drawers, kitchen junk drawers, the bag you took to your last meeting, your car, and that box in the closet you have been avoiding. Spread everything out on a large surface like a dining table or the floor.
This step matters because it forces you to see the full scope of what you own. Forum users on Reddit consistently report being shocked at how many pens, notebooks, and sticky note pads they accumulate without realizing it. One person in the r/stationery community found 47 black pens during their gather step. Forty-seven.
Test Every Writing Instrument
Grab a piece of scrap paper and test every single pen, marker, and highlighter. Make a mark with each one. Sort them into two piles: works and does not work.
You will likely be surprised by how many pens have dried out. Toss the dead ones without guilt. Testing takes about ten minutes for a typical collection and it immediately cuts your pen pile in half for most people.
Sort Paper and Discard What You Do Not Need
Go through your paper stack and separate it into three categories: keep, shred, and recycle. Old receipts, expired coupons, printed emails you already dealt with, and random notes from meetings three years ago all go into shred or recycle.
Be honest with yourself. If you have not looked at a piece of paper in over a year and it is not a legal or financial document, you probably do not need it. We will cover how to handle the papers you actually need to keep in the paper organization section later.
Address the Guilt of Letting Go
Many people struggle to declutter stationery because the items are still functional or were expensive. I understand this completely. A perfectly good notebook feels wasteful to throw away.
Here is the mindset shift that helped me: keeping an item you never use is not appreciation, it is storage. Donate unused notebooks, extra pens, and craft supplies to schools, community centers, or freecycle groups. Someone else will actually use them, and you free up your space for the supplies you love.
Common Decluttering Mistakes to Avoid
The biggest mistake people make is buying storage containers before decluttering. You end up organizing around items you should have discarded, which makes the system harder to maintain.
Another mistake is keeping duplicates just in case. Three pairs of scissors in one desk drawer is not a backup plan, it is clutter. Keep one in your desk and put the others where they are actually useful.
A third mistake is skipping the declutter entirely because the job feels overwhelming. If that is where you are, set a timer for fifteen minutes and tackle one category. Pens today, paper tomorrow. Momentum builds quickly once you start.
Step 2: Create a Categorization System That Makes Sense
An effective categorization system groups items by how you use them, not by what they look like. The goal is to be able to reach for something and find it without thinking.
Group by Function, Not by Aesthetics
I used to organize my supplies by color because it looked beautiful on Instagram. It was also completely useless when I needed a glue stick and had to remember that I had filed it under the yellow section. Function-based categories solve this problem.
Start with broad categories based on how you actually use your supplies. The categories that work for most people are: writing instruments, paper and notebooks, adhesives and tape, cutting tools, and decorative supplies like stickers and washi tape.
Suggested Stationery Categories
Here is a category breakdown that works well for most home setups. Adapt it to match what you actually own.
Writing instruments: pens, pencils, markers, highlighters, and erasers. Subdivide by type if you have a large collection, such as separating fountain pens from ballpoints.
Paper and notebooks: loose paper, journals, notebooks, sticky notes, and notepads. Separate blank paper from lined and grid.
Adhesives: glue sticks, double-sided tape, washi tape, and liquid glue. Group these together so you always know where to find something sticky.
Cutting tools: scissors, craft knives, and paper trimmers. Keep these in one spot for safety and convenience.
Decorative supplies: stickers, stamps, ink pads, and embellishments. These are the items most likely to get lost in a drawer because they are small and varied.
Reference and office items: staplers, paper clips, rulers, and calculators. These functional items deserve their own zone.
Subdivide Large Categories
If you have a large collection in any category, create subcategories. A drawer full of mixed pens becomes frustrating fast. Separate them into everyday pens, specialty pens like calligraphy or fountain pens, and markers or highlighters.
The test for whether a category needs subdividing is simple. If you have to dig through more than ten items to find what you want, it is time to split the category.
Label Every Category
Labels are what turn a good system into a lasting one. When every container, drawer, and shelf has a label, you and anyone else in your household know exactly where things belong.
I use a simple label maker, but you can also use masking tape and a permanent marker. The method matters less than the consistency. Label the outside of containers and the inside rim of drawers.
Step 3: Choose Storage Solutions for Every Space
The right storage solution depends on three things: how often you use the item, how much space you have, and your budget. Items you use daily need to be within arm’s reach. Items you use occasionally can live in less accessible spots.
Desktop Organizers for Daily-Use Items
Desktop organizers keep your most-used supplies visible and within reach. A pen cup, a small tray for sticky notes, and a compartment for paper clips handle about eighty percent of daily needs.
The key is to limit what lives on your desk surface. A cluttered desk creates visual stress and reduces your usable workspace. I keep exactly five items on my desk: a pen cup, a notepad, a stapler, scissors, and a small tray for paper clips and erasers. Everything else lives in drawers or on shelves.
Multi-compartment desktop organizers work well if you have limited drawer space. Look for ones with adjustable dividers so you can customize the sections to fit your specific supplies.
Drawer Dividers for Hidden Storage
Drawers are where most stationery ends up, and without dividers they become chaotic dumping grounds within days. Drawer dividers are the single most effective tool for keeping supplies organized.
Adjustable drawer dividers let you create custom compartments that fit your specific items. Spring-loaded dividers are easy to install and adjust. You can also use small containers or boxes inside a drawer to create sections without buying a divider system.
One forum tip that changed my approach: use small open-top containers inside desk drawers rather than one large divider. Small containers are modular, so you can rearrange them as your needs change. Dollar Tree and similar discount stores sell these for a fraction of the cost of purpose-built drawer organizers.
Assign each drawer a theme. My top drawer holds writing instruments and small office tools. The second drawer holds paper and notebooks. The third holds decorative supplies. This system means I never open the wrong drawer.
Vertical Files and Magazine Holders
Vertical storage is the secret weapon for paper-heavy setups. Stacking paper horizontally creates piles that are impossible to search through. Standing paper vertically lets you see every sheet at a glance.
Magazine holders are perfect for storing notebooks, cardstock, and loose paper sorted by type. Label the spine of each holder so you can grab what you need without pulling them all out.
Vertical file organizers work for documents you need to access regularly. Use color-coded file folders for different categories: green for financial documents, blue for personal records, red for urgent items. This visual system makes filing faster and more intuitive.
For people with limited desk space, wall-mounted file pockets hold the same amount of paper as a desktop file organizer but take up zero surface area. This is one of my favorite small-space solutions.
Wall-Mounted and Over-the-Desk Solutions
When horizontal space is tight, go vertical. Wall-mounted organizers, pegboards, and floating shelves turn empty wall space into functional storage.
A pegboard above your desk is one of the most versatile organization tools available. You can hang scissors, washi tape, small containers of pens, and even paper rolls. The best part is that you can reconfigure it whenever your needs change.
Wall-mounted mail sorters work well for incoming paper that needs attention. Create a simple inbox and outbox system on the wall near your desk to keep paper from piling up on your surface.
Over-the-desk shelves take advantage of the vertical space directly above your workspace. Use them for items you use weekly rather than daily, like reference books or specialty supplies.
Baskets, Bins, and Cubby Storage
Baskets and bins are ideal for supplies you use occasionally but need to store accessibly. A craft cart with multiple bins lets you roll your supplies wherever you need them and tuck them away when you are done.
Cubby storage works well for larger stationery collections. Each cubby holds a category, and you can use bins within cubbies to keep small items contained. Open cubby systems keep supplies visible, which solves the common problem of forgetting what you own.
One thing I have learned: clear bins are better than opaque ones for stationery storage. When you can see what is inside, you are less likely to buy duplicates or forget about supplies you already have. This directly addresses the pain point many forum users describe of finding items they forgot they owned.
Small Space and Budget Solutions
You do not need expensive systems to get organized. Some of the best solutions cost almost nothing.
Plastic drawer units from discount stores are a staple recommendation in every organizing community I have followed. They stack vertically, take up minimal floor space, and keep supplies dust-free. Facebook Marketplace is full of these units secondhand for a fraction of retail price.
Mason jars make excellent pen cups and are nearly free if you already have them. Shoe boxes wrapped in contact paper become attractive drawer dividers. Tension rods inside a drawer create instant sections for pens and pencils.
For truly tiny spaces, consider a hanging organizer that goes over a door or inside a closet. These hold a surprising amount of supplies and use space that would otherwise be wasted.
If you are on a strict budget, prioritize drawer dividers and labels first. These two items have the biggest impact per dollar spent. You can build the rest of your system gradually as budget allows.
Step 4: How to Organize Paper Supplies Without a Filing Cabinet
Paper is the hardest category to keep organized because it accumulates constantly and comes in many different sizes and types. A dedicated system for paper prevents the piles that eventually take over every flat surface in your home.
Sort Paper by Type and Purpose
Not all paper serves the same purpose, so it should not all be stored the same way. Separate your paper into functional groups before deciding on storage.
Active paper: documents you are currently working on, bills to pay, forms to fill out, and projects in progress. These need to be accessible and visible so they do not get forgotten.
Reference paper: documents you need to keep but rarely access, such as tax records, insurance policies, and warranty information. These can live in less accessible storage.
Creative paper: cardstock, scrapbook paper, construction paper, and specialty paper for crafts. These need flat storage to prevent bending and curling.
Everyday paper: printer paper, notebooks, sticky notes, and notepads. These should be stored where you use them most often.
Active Paper: Use a Simple Action System
Create an action-based system for paper that needs your attention. A simple two-tier approach works for most people: an inbox for new items and a working file for items in progress.
Process your inbox at least once a week. Open mail immediately and sort it into recycle, shred, file, or action needed. This prevents the paper pile that grows from avoidance.
For action items, a desktop file sorter with labeled folders keeps them visible and organized. Label folders by action type: To Pay, To File, To Read, and Waiting On. This system takes about ten minutes to set up and saves hours of searching later.
Reference Paper: Go Digital Where Possible
Most reference documents can be scanned and stored digitally, which dramatically reduces your physical paper load. Use your phone’s scanner app to digitize receipts, manuals, and important documents.
For documents you must keep in physical form, such as original birth certificates and signed contracts, use a fireproof box or a dedicated file box stored in a cool, dry place. Label files clearly and create an index so you can find documents quickly.
Keep tax records for the legally required period in your area, then shred them. Most financial documents do not need to be kept indefinitely, and holding onto them just creates unnecessary clutter.
Creative and Craft Paper: Store Flat
Craft paper needs flat storage to stay in good condition. Vertical storage that works for documents does not work for cardstock and scrapbook paper because it bends and curls.
Use a flat storage box, a paper organizer rack, or a dedicated shelf for craft paper. Sort by color or type so you can find what you need without flipping through every sheet.
For scrap pieces that are too good to throw away but too small for most projects, keep a single envelope or folder labeled scraps. Limit yourself to one container. When it is full, either use the scraps or recycle them.
Notebooks and Journals: Display or File
Notebooks and journals take up significant space and are easy to accumulate. Store current notebooks on a shelf or in a magazine holder within reach of your workspace.
Archive finished notebooks in a dedicated box or bin. Label the outside with the date range and general contents so you can find old notes when you need them. Most people never look at old notebooks, but the few times you do need them, a label saves hours of searching.
Step 5: Keep Your Stationery Organized Long-Term
A system only works if you maintain it. The good news is that maintaining an organized stationery setup takes far less time than creating one. A few simple habits keep everything in order indefinitely.
Schedule Regular Check-Ins
Set a recurring date to review and reset your stationery system. Every three months works well for most people. Use this time to test pens, discard dried-out markers, recycle paper you no longer need, and return misplaced items to their proper homes.
I do my check-in on the first Saturday of every quarter. It takes about thirty minutes and prevents the gradual drift that happens when supplies are used and not put back properly. Think of it as routine maintenance, like changing the oil in your car.
Follow the One-In-One-Out Rule
For every new stationery item you bring into your home, remove one equivalent item. Buy a new notebook, donate or use up an old one. This simple rule prevents accumulation and keeps your storage from overflowing.
The one-in-one-out rule is especially important for pens and markers, which seem to multiply on their own. Before buying new supplies, check whether you actually need them or whether you are simply attracted to something new.
Rotate Supplies Seasonally
Most people do not think about seasonal rotation for stationery, but it makes a real difference. During back-to-school season, stores discount supplies heavily. Buy what you need for the year, then store extras in a dedicated overflow bin.
Rotate your active supplies based on what you are doing. If you are working on a bullet journal project, bring those supplies to the front. If you are focused on a craft project, make those items most accessible. Seasonal rotation keeps your workspace relevant to your current projects.
Get Your Household On Board
If other people use your supplies, the system needs to work for them too. Labeling helps enormously here because anyone can see where items belong and return them correctly.
Keep a shared stationery zone for household items like scissors, tape, and pens that everyone uses. Give each family member a personal container for their own supplies to reduce conflicts over shared items.
Talk to your household about the system and why it matters. People are more likely to maintain a system they understand and had a hand in creating.
FAQs
How do you organize stationery at home?
Start by gathering all your supplies in one place, then declutter by testing pens and discarding paper you no longer need. Next, categorize what remains by function, assign each category a labeled storage location, and maintain the system with quarterly check-ins and a one-in-one-out rule for new purchases.
What is the best way to organize paperwork at home?
Sort paper into four groups: active documents you are working on, reference documents you must keep, creative paper for crafts, and everyday paper like printer paper and notebooks. Store active paper in a desktop file sorter with action-based labels, scan reference documents to reduce physical clutter, and keep craft paper flat to prevent bending.
How do you store a lot of stationery in a small space?
Use vertical storage like wall-mounted organizers, pegboards, and over-the-door hanging systems to maximize space. Stackable plastic drawer units and clear bins keep supplies visible and contained without taking up much floor area. Prioritize drawer dividers and labels, which have the highest impact for the lowest cost.
What are the most common stationery organizing mistakes?
The biggest mistakes are buying storage containers before decluttering, keeping too many duplicates just in case, organizing by appearance rather than function, and skipping regular maintenance. Other common errors include storing craft paper vertically instead of flat and failing to label containers so the system breaks down over time.
Wrapping Up Your Stationery Organization Project
Learning how to store and organize stationery and paper supplies at home is not about achieving a perfect-looking desk. It is about building a system that saves you time, reduces waste, and makes your supplies easy to find and use.
The five-step framework works because it follows a logical order: declutter, categorize, store, organize paper specifically, and maintain. Start with decluttering today, even if you only have fifteen minutes. Every item you test, discard, or sort brings you closer to a workspace that actually works for you.
Your next step is simple. Grab a piece of scrap paper, start testing pens, and see how many dried-out markers you have been holding onto. You might be surprised by what you find.